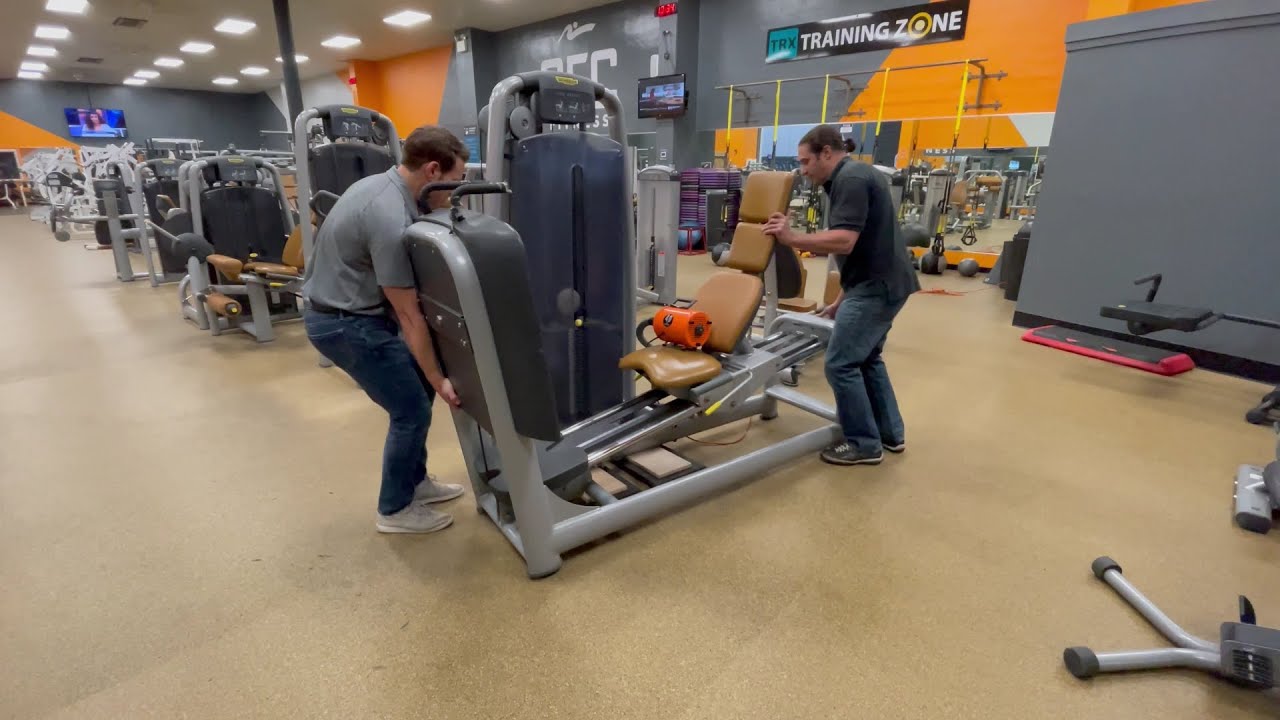
Moving gym equipment can be a daunting task. You might feel overwhelmed just thinking about it.
But fear not, because you’re not alone in this challenge. Whether you’re relocating your home gym or helping out a friend, knowing how to move gym equipment safely and efficiently is crucial. Imagine the satisfaction of setting up your gym in a new space, ready for your next workout.
The good news is, with the right tips and tricks, you can make the process smooth and stress-free. So, if you’re ready to transform what seems like a heavy task into a manageable one, keep reading. Discover the secrets to moving your equipment without a hitch and avoid the common pitfalls that could cost you time, money, and even your equipment. Let’s dive into making your move as seamless as possible!
Preparation
Preparing to move gym equipment is a crucial step that often gets overlooked. You might be eager to get started, but rushing could lead to damage or injury. Taking time to prepare can save you a lot of headaches and ensure a smooth transition. Let’s break down the preparation process into manageable steps.
Assessing Equipment
Begin by evaluating the gym equipment you plan to move. You need to know what you’re dealing with before making any decisions. Consider the size, weight, and any detachable parts. Are you aware of all the equipment you’re moving? Some machines may require extra attention, like treadmills or ellipticals, which can be bulky and heavy.
Make a list of each item and its specifications. This will help you understand the manpower or tools needed. If you’re unsure about how to handle a particular piece, don’t hesitate to research or reach out to a professional for advice.
Remember, it’s not just about the physical dimensions. Think about the equipment’s condition. Is it safe to move? Checking for wear and tear beforehand can prevent accidents.
Gathering Tools
Once you’ve assessed your equipment, it’s time to gather the necessary tools. Moving gym equipment is not a one-person job; having the right tools makes a world of difference. Do you have dollies, moving straps, or a furniture slider?
Don’t underestimate the power of simple tools. A wrench, for example, might be all you need to disassemble a weight bench. If you’re missing any tools, consider borrowing or renting them. Investing in quality tools can protect your equipment and your back.
Think about protective gear as well. Gloves can provide a better grip, while padding can prevent damage. Are you prepared to handle the heavy lifting without compromising safety?
Preparation is the key to moving gym equipment efficiently. By assessing the equipment and gathering the right tools, you set yourself up for success. Are you ready to take the next step in your moving journey?
Credit: www.pmrelocations.com
Safety Measures
Moving gym equipment demands careful attention to safety measures. Ensuring safety helps prevent injuries and damage. Whether you’re relocating weights or machines, taking the right precautions is essential.
Proper Lifting Techniques
Lift with your legs, not your back. Keep your back straight. Bend your knees and squat down. Hold the equipment securely. Use both hands for a firm grip. Maintain a balanced stance. Avoid twisting your body while lifting. If the item is heavy, ask for help. Teamwork reduces strain and injury risk.
Protective Gear
Wear sturdy gloves to protect your hands. Use a weightlifting belt to support your back. Safety shoes with good grip can prevent slips. Ensure clothing is not too loose. Loose clothes can catch on equipment. Consider using knee pads for added protection. Protecting yourself is key in preventing accidents.
Disassembly
Moving gym equipment requires careful disassembly. Start by unplugging machines and removing any loose parts. Label each piece to ensure easy reassembly later.
Disassembling gym equipment can seem daunting. However, breaking it down into manageable steps ensures a smooth process. Understanding each part’s role makes reassembly easier and safer.Removing Attachments
Start by removing any attachments. Think about the handles on a cable machine or the barbell from a bench press. These are often connected with simple pins or clips. Use a bit of elbow grease if they feel stuck. You might be surprised how much dust and sweat can act like glue! Take note of where each attachment belongs. You might even want to snap a quick picture with your phone. This can be a lifesaver when it’s time to put everything back together.Unbolting Parts
Next, focus on unbolting parts. Use a wrench or screwdriver—whatever fits best. Make sure you have the right tools before you start. There’s nothing worse than having to pause your work to hunt for a tool. As you remove bolts, place them in a labeled container. It’s easy to misplace small parts, and keeping them organized saves time and frustration. Remember, some parts might be heavier than expected. Consider asking a friend for help, especially with larger machines. Have you ever tried to hold a treadmill deck steady while unscrewing it? It’s no easy feat! Disassembly doesn’t have to be stressful. Approach it step by step, and you’ll be done before you know it. What’s your go-to strategy for tackling complex tasks like this?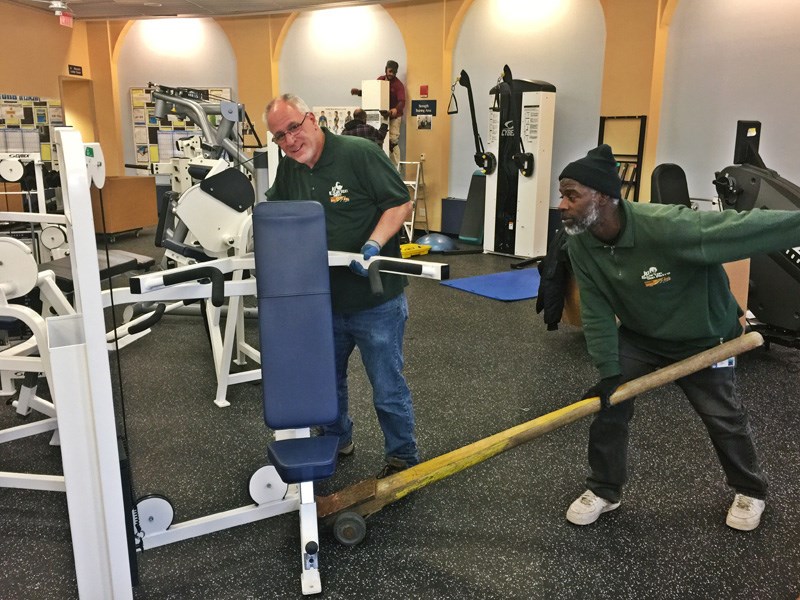
Credit: www.jdcarton.com
Packing
Packing gym equipment is a crucial step in your moving process. Proper packing ensures that your equipment remains safe and undamaged. It also helps in organizing everything efficiently. Follow these simple steps for effective packing.
Using Bubble Wrap
Bubble wrap is ideal for protecting large gym equipment pieces. Wrap each piece thoroughly to prevent scratches and dents. Use multiple layers for extra protection. Secure the bubble wrap with tape to keep it in place.
Focus on delicate areas like screens or control panels. Ensure these parts are fully covered to avoid damage during transit. Bubble wrap is easy to handle and provides excellent cushioning.
Securing Small Components
Small components can easily get lost or damaged. Use ziplock bags to store screws, bolts, and nuts. Label each bag for easy identification later. This keeps everything organized and prevents loss.
Place smaller parts in a sturdy box. Use packing paper or foam to fill any gaps. This prevents movement and keeps everything secure. Properly securing small components simplifies reassembly at your new location.
Transport
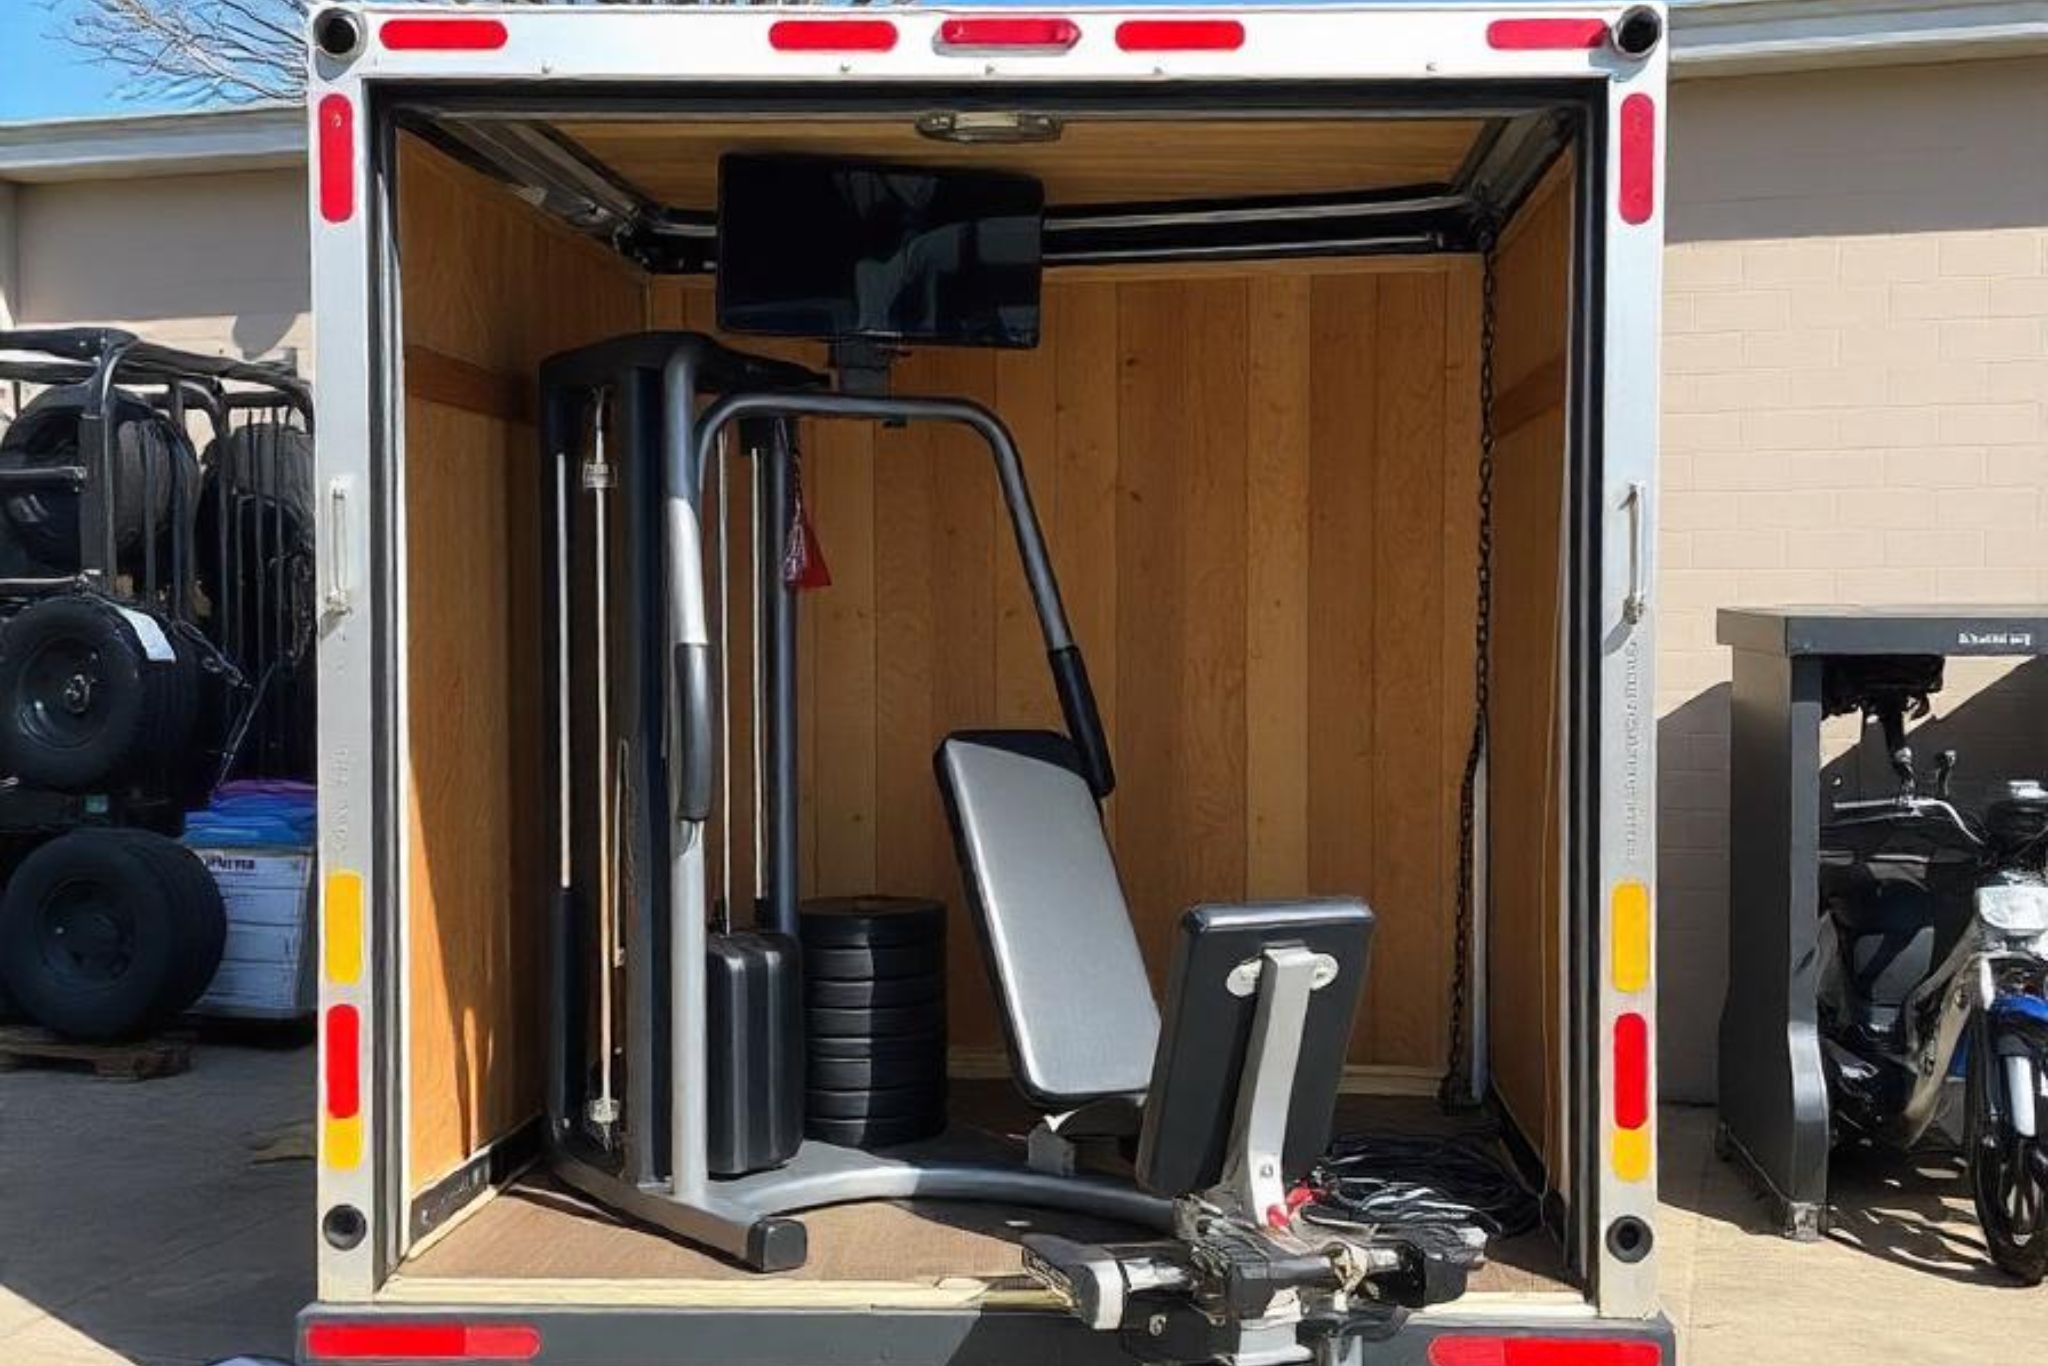
Moving gym equipment demands careful planning to ensure safety. Disassemble large machines and pack smaller items securely. Use dollies and straps for heavy pieces to prevent injury or damage.
Transporting gym equipment can be a daunting task, especially when you’re moving large and heavy items that require special care. Ensuring that your equipment reaches its new destination safely is crucial. You’ll want to make sure you have the right tools and strategies to make the process as smooth as possible. Let’s dive into some practical tips on how to effectively transport your gym equipment.Choosing The Right Vehicle
Selecting the appropriate vehicle is your first step. A pickup truck or a van is often ideal due to their spacious interiors and robust carrying capacity. Consider the size and weight of your gym equipment; a compact car might not cut it. You might need to rent a vehicle if you don’t own one that’s suitable. It’s worth investing in a truck or van with a hydraulic lift if you’re moving particularly heavy items like treadmills or weight machines. This can significantly reduce the manual labor involved. Have you thought about the vehicle’s interior? Ensure it has enough room to transport your largest piece of equipment in one go. This saves time and reduces the risk of damage from multiple trips.Loading Strategies
Loading gym equipment requires a mix of technique and safety precautions. Always disassemble parts if possible, such as removing weights from a weight bench or detaching a treadmill’s arms. This makes the items easier to handle and reduces the risk of injury. Use tools like furniture sliders and dollies to move heavy items without straining your back. Enlist the help of a friend or hire professional movers for those extra heavy pieces. Secure the equipment inside the vehicle using straps and padding. This prevents movement during transit, which can lead to damage. It’s a good idea to load heavier items first for stability, placing lighter ones on top or around them. Have you ever found yourself stuck trying to fit a large piece of equipment into a small space? It’s frustrating, but taking the time to measure and plan your loading sequence can save you from this headache.Reassembly
Reassembling gym equipment requires patience and attention. After moving, each piece needs careful handling. Proper reassembly ensures equipment functions safely and effectively. Following a systematic approach simplifies the process. Start by organizing all parts and tools. Understanding each component’s role helps avoid mistakes.
Reattaching Parts
Begin with the main structure. Securely attach the frame using appropriate bolts and screws. Follow the manufacturer’s instructions closely. Next, reattach smaller parts like handles and pedals. Use labeled bags to keep bolts and nuts organized. This prevents mixing and confusion. Hand-tighten parts first to ensure proper alignment. Then, use tools for final tightening.
Testing Functionality
After reattaching parts, test the equipment’s functionality. Check for smooth movement and stability. Listen for unusual noises or resistance. Test each feature thoroughly. Adjust any loose components immediately. Ensure safety features are operational. Confirm that weight supports can hold intended loads. Testing ensures equipment is ready for safe use.
Final Checks
Before you complete your gym equipment move, perform final checks. These checks ensure your equipment is ready for use. They also help prevent future problems.
Inspecting For Damage
Look closely at each piece of gym equipment. Search for cracks, dents, or scratches. These signs indicate possible damage. Check cables and wires for wear or fraying. Damaged parts can affect safety and performance. Replace or repair any damaged components before use.
Ensuring Stability
Test the stability of all equipment. Push gently on each machine to check if it wobbles. Secure any loose bolts or screws. Ensure the equipment stands firm on the ground. Stability is key to safety during workouts. Confirm that all moving parts function smoothly. This includes weights, pulleys, and adjustable seats.

Credit: www.youtube.com
Frequently Asked Questions
What Is The Best Way To Transport Gym Equipment?
Use a sturdy vehicle with ample space. Secure equipment with straps or padding to prevent damage. Disassemble larger items if possible. Label parts for easy reassembly. Consider hiring professional movers for heavy or complex equipment. Ensure items are well-balanced to avoid shifting during transport.
How To Move Heavy Equipment Easily?
Use specialized equipment like dollies or forklifts for easy movement. Secure items with straps to prevent accidents. Always plan your path and clear obstacles beforehand. Seek professional help for very heavy machinery. Ensure safety by wearing protective gear.
How To Move Gym Benches Up And Down?
Adjust gym benches by pulling the lever or pin beneath the seat. Slide the backrest to your desired position. Ensure it locks securely for safety. Always check the bench’s stability before use.
How To Move Heavy Lab Equipment?
Use specialized equipment like dollies or forklifts to move heavy lab equipment safely. Secure items with straps and padding. Employ trained professionals for delicate tasks. Plan the route and clear obstacles beforehand. Ensure proper lifting techniques to prevent injury.
Conclusion
Moving gym equipment can be simple with the right steps. Plan carefully. Use proper tools and gear for safety. Ask friends or hire professionals for heavy items. Protect your floors with mats or blankets. Always lift with your legs, not your back.
Secure equipment during transport to avoid damage. Finally, reassemble your gym items with care. Following these tips ensures a smooth move. Enjoy your new gym setup!